1 . Go to the website https://getcomposer.org
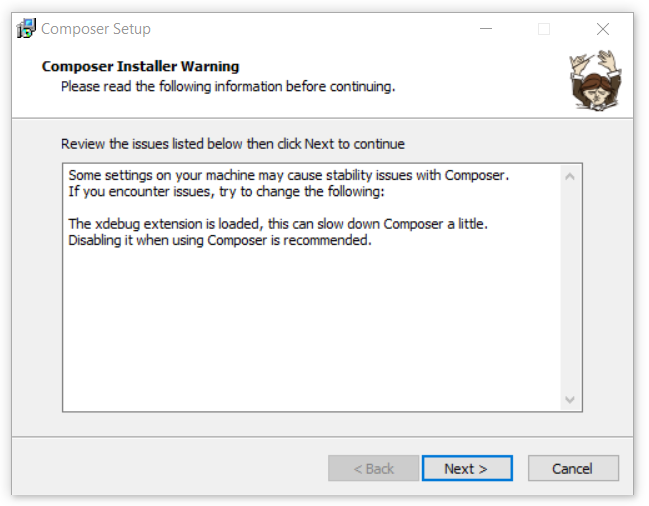
2 . Download the window installer i.e. “Composer-Setup.exe”. When you click on this file after downloaded, you will see the following dialog box.

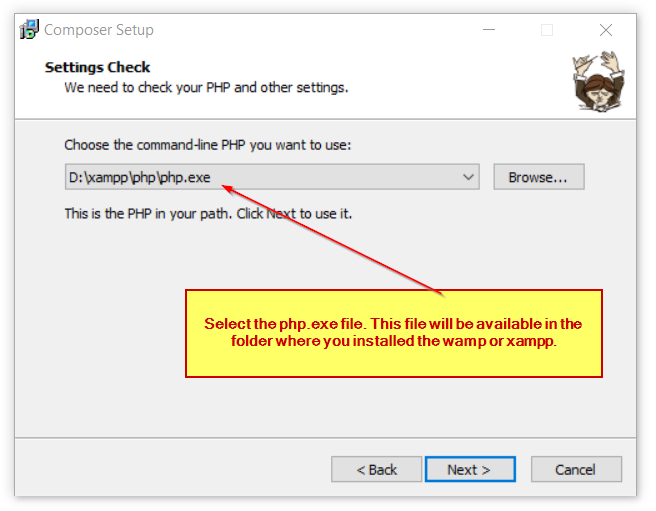
3 . Then press the next button and you will land to the following state. Here, you have to select the php.exe file which will be used by composer. This php.exe file could be found in the wamp or xampp installation folder. In my case, it is located at the path D:\xampp\php\php.exe
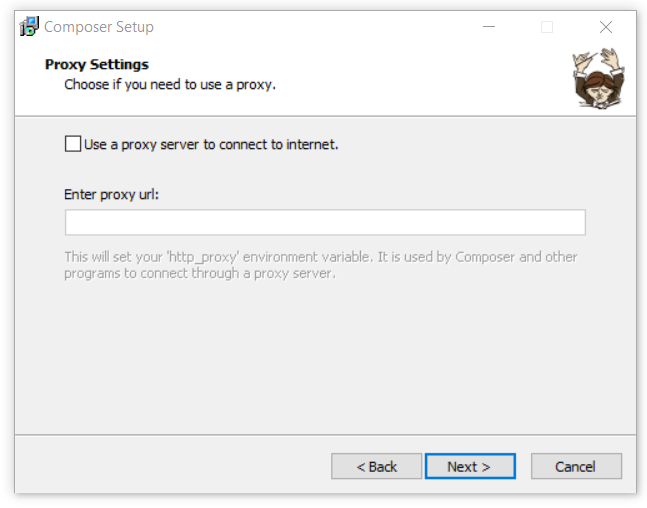
Following window will be displayed after this step.
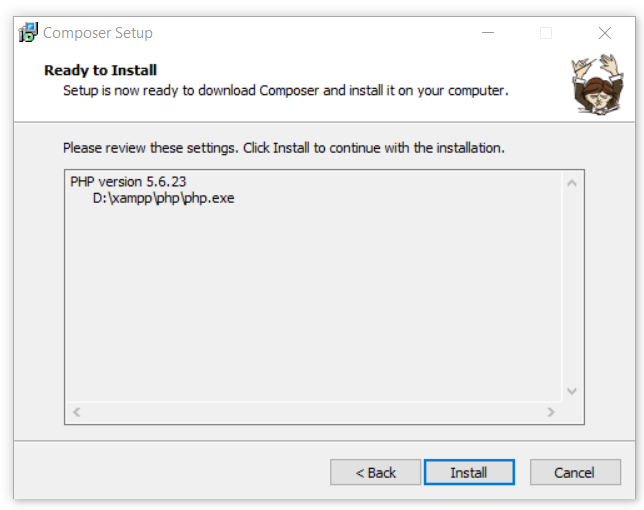
Press on the install button and composer will start to install.
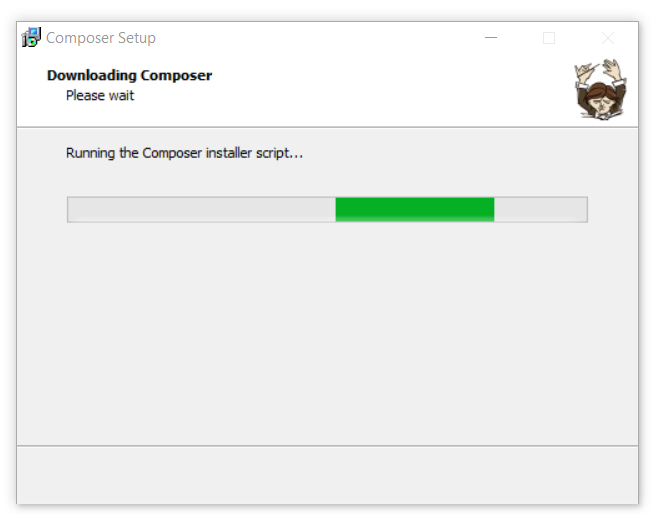
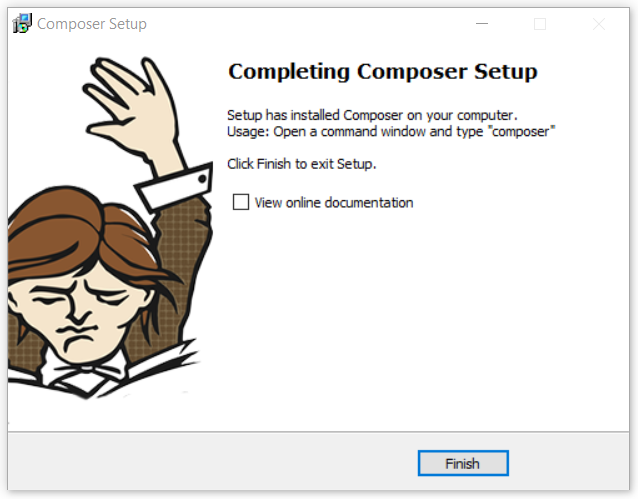
Now you are done and composer has been installed to your Windows system.
Test if composer has been installed Properly.
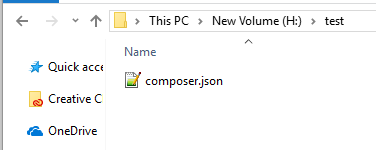
1 . To verify the composer installation, we will use it for demo purpose. Let’s create the test folder in system anywhere as following. And create the file “composer.json” which will be used by composer tool.
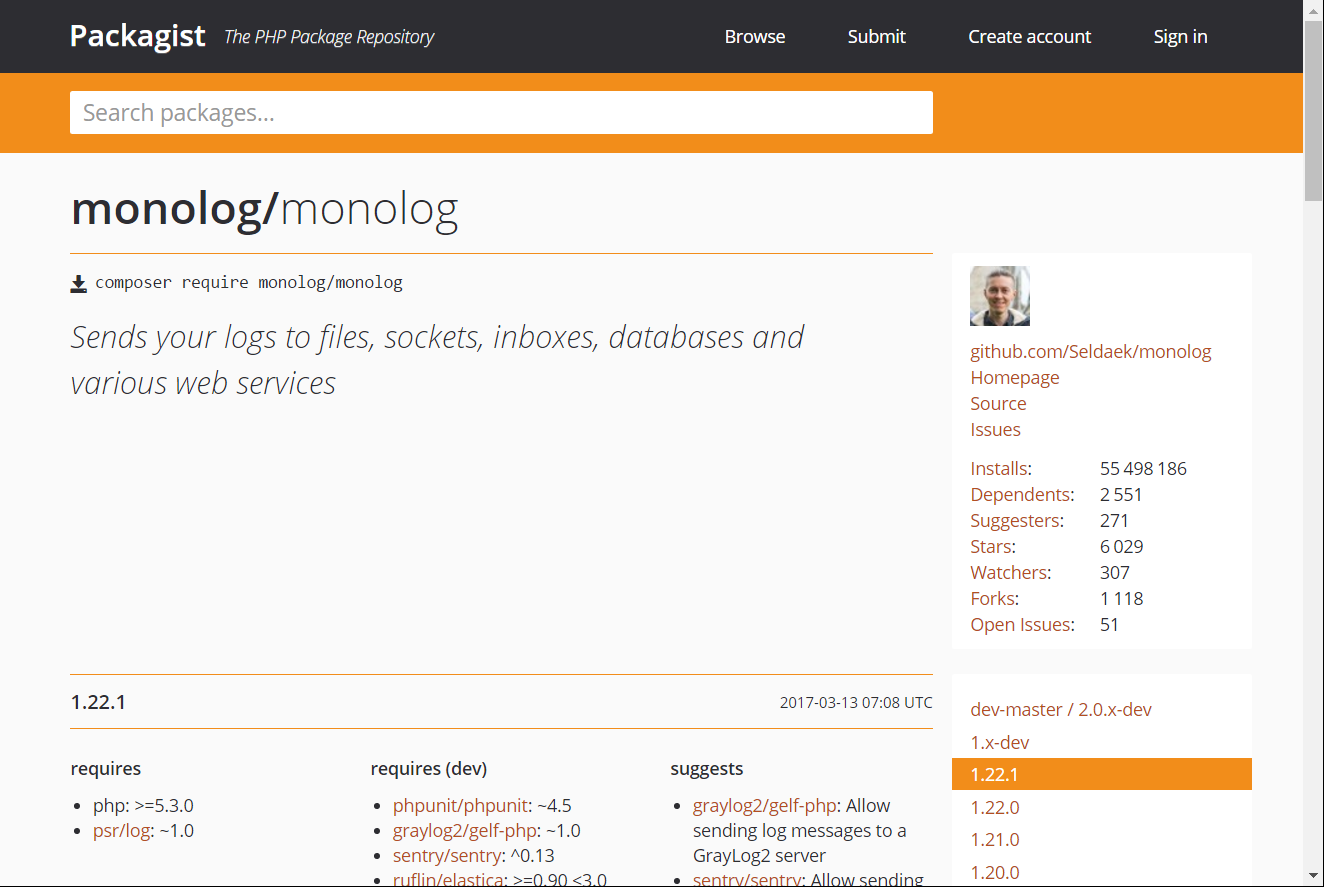
2. Suppose you want to use the monolog library in your project to send your logs to files, email, web services etc. So, we need to install this library in our project.
3. Go to the website https://packagist.org, this website manages PHP package Repository. Here you could search for the term “monolog” and you will see it in search result. See the following screenshot:
4. Write the following text in the composer.json file.
{
    "require": {
        "monolog/monolog": "1.0.*"
    }
}
Here, You are simply telling Composer which packages your project depends on.
5. Run the composer command as following;
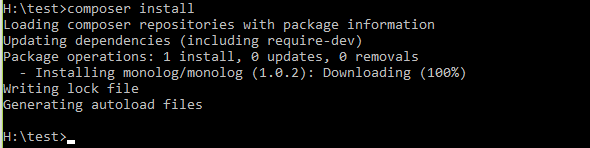
6. After this execution, see the folder in which you are, that is test folder. You see some extra things there, As following
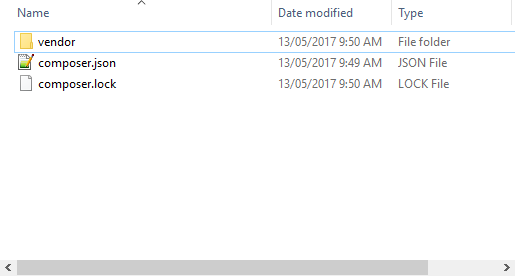
This implies that the composer has been installed properly.